Topo.
Ambient lighting created with a 3D printer
The Outline
The Overview Apple
In collaboration with Innosek, we created a battery-powered LED luminaire
that focuses on creating ambient light in indoor or outdoor applications.
The Problem Twitter
The designs needed to be less than 11 cubic inches, printed in less than 24 hours, and Innosek had to approve our material choices - which all components needed to be a single material. These need to be able to encapsulate existing rechargeable LED light sources to create an ambient luminaire that embraces the capabilities and materials available at the Innosek additive manufacturing facility in Buffalo, NY.
The Goal Apple
Create an interesting ambient lighting source that was able to bring personality to a space through lighting.
The Process
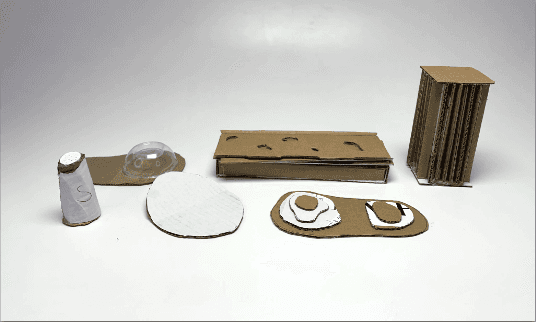
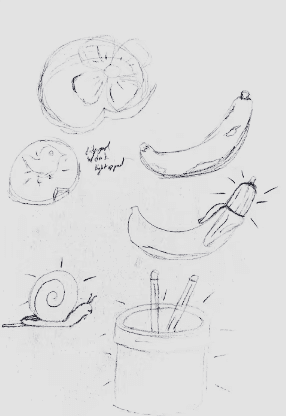
Sketching & Quick Models
Early Concept Sketches
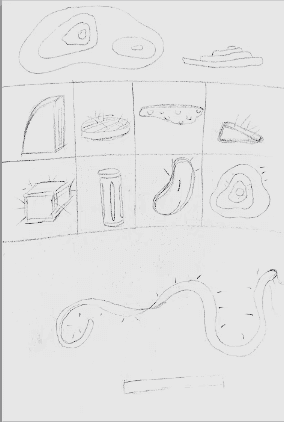
Working with Shadows

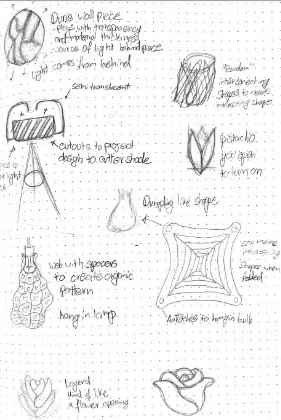
Shape
Exploration
Combining Concepts
Experimenting with 3D Printing
Arch & Strength
Determined what types of arches we could get from 3D printing and how strong they would be.
Base Structure
Choosing different base ideas for how the bottom would attach.
Layering Materials
Seeing how we could connect two separate prints and how they would sit on each other.
Printed Curvature
Checking to see if the curvature would be printed on our design without roughness.
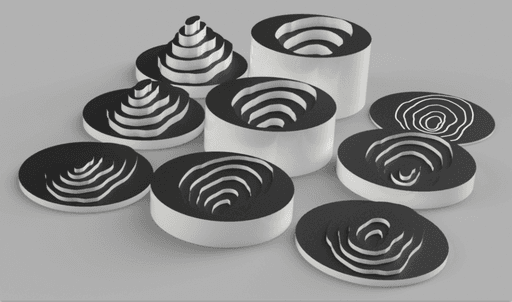
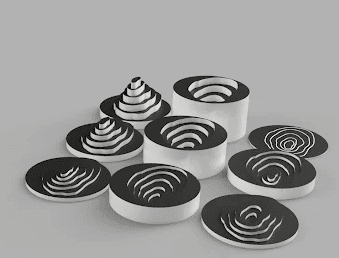
Iteration & Refinement
Curvature & Layout
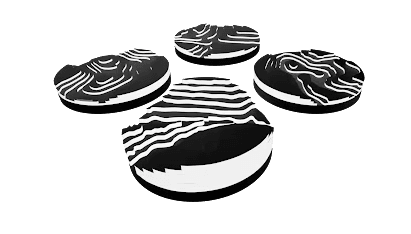
Using different topography patterns.
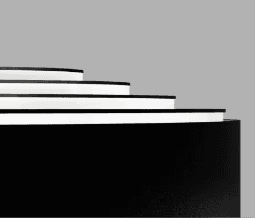
Contours & Step Height
Light adjustments based on if it was lit inward or outward, and adjusting heights of the steps.
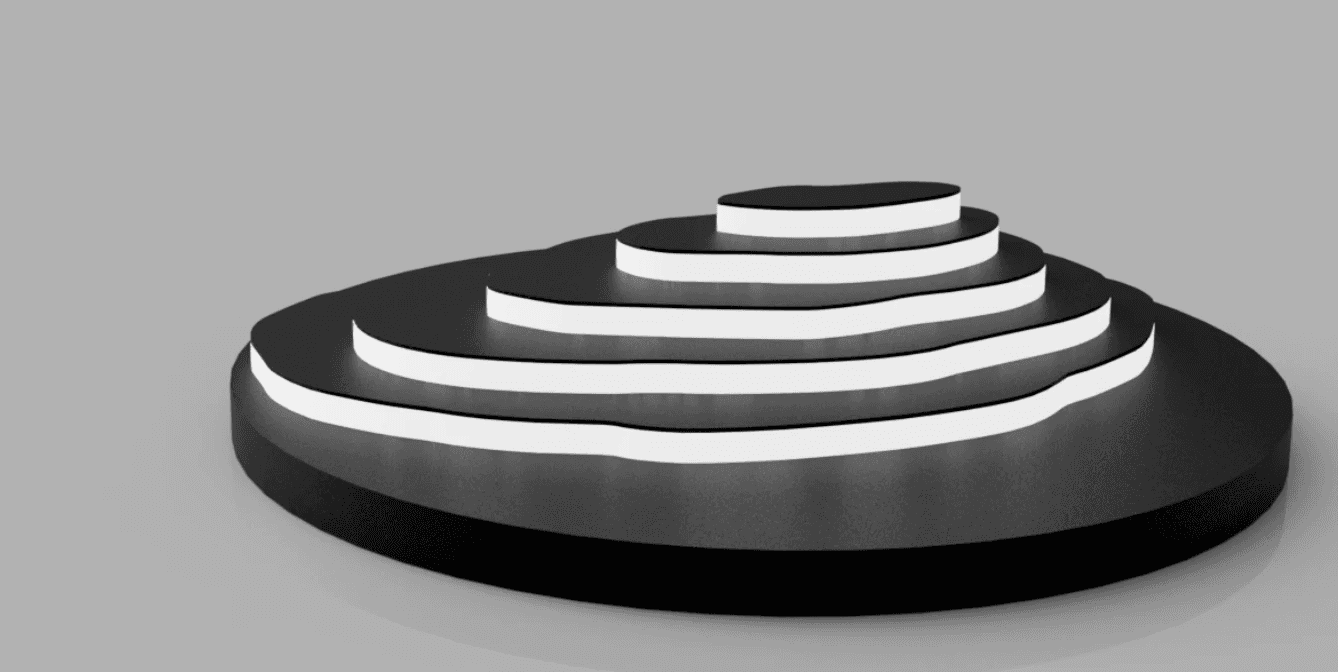
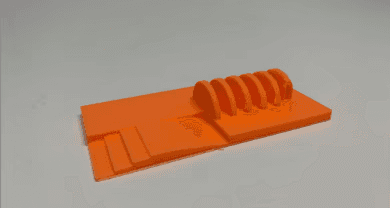
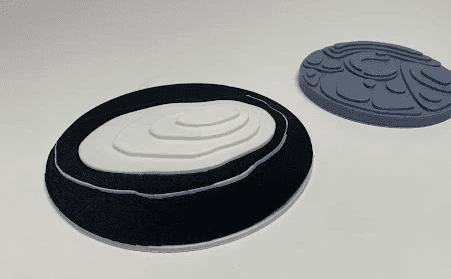
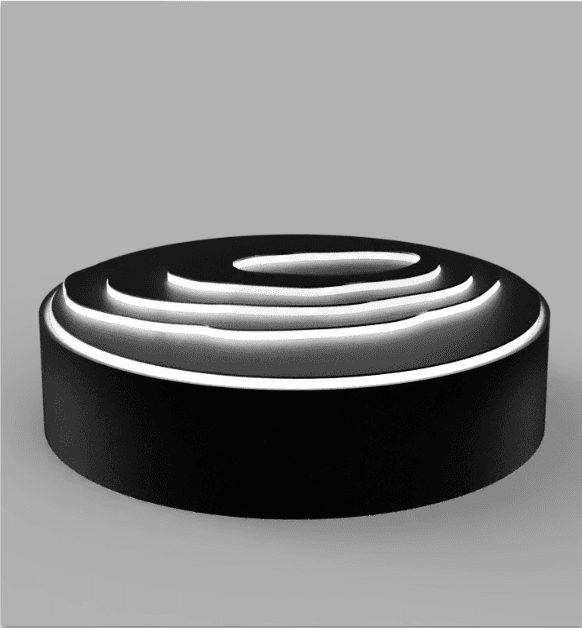
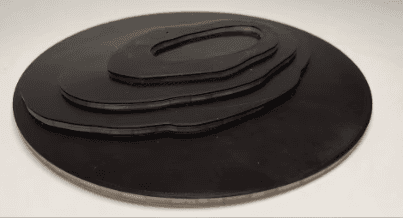
The Final Design
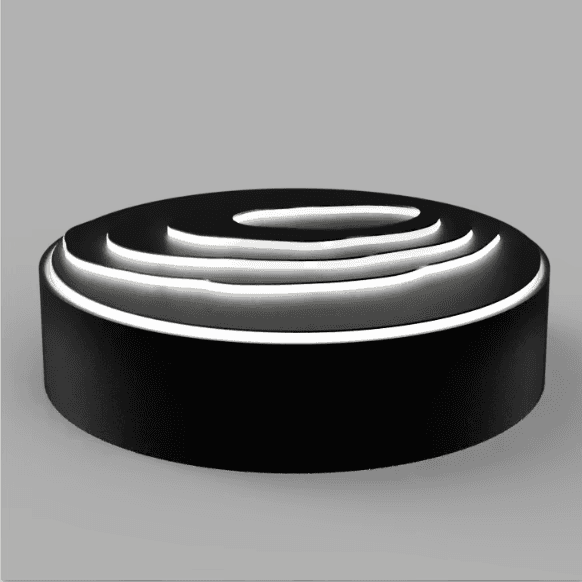
Rendered.
Final
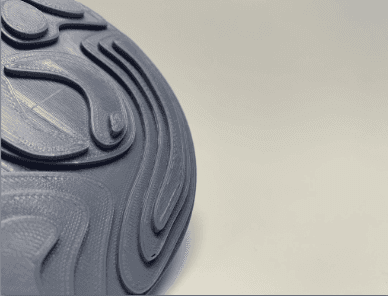
Detail
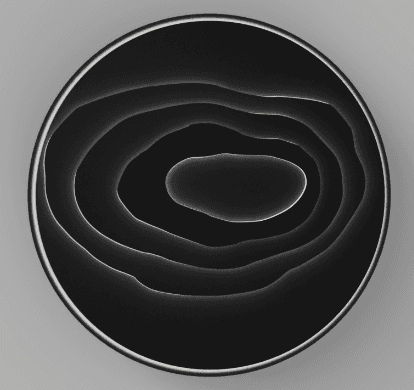
Top View
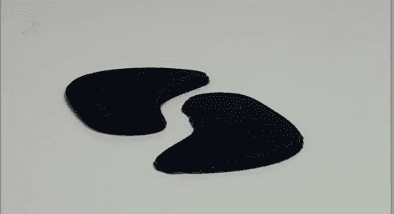
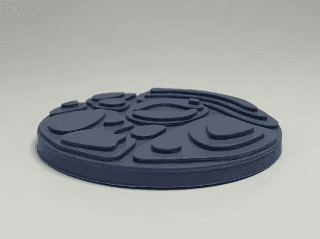
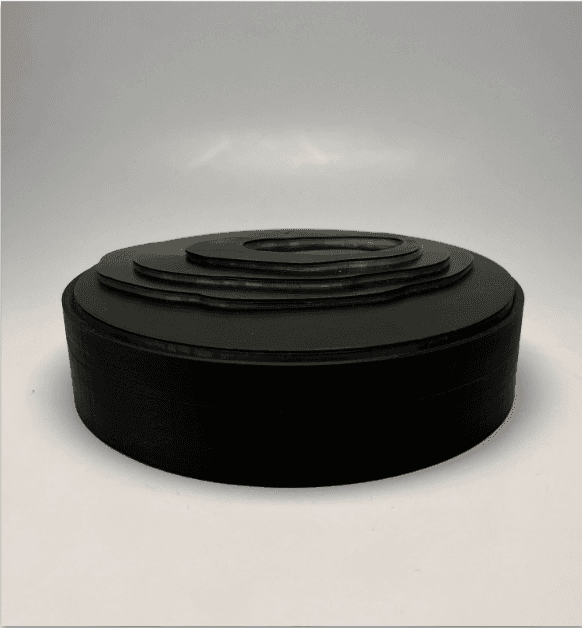
Printed.
Final
Detail
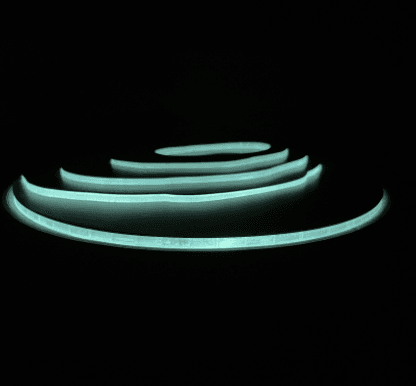
In the Dark
Working with Innosek
Meeting Innosek
The project kicked off with an information session with the team from Innosek, where
they outlined their production capabilities and materials. They shared material samples
and swatches to get hands-on exposure to the functional attributes of the materials
and discuss the unique approach to additive manufacturing as well as tips, tricks, and
design considerations that helped inform the design process.
Sketch Model Critiques
After we created our divergent ideations with our sketch models the team from Innosek came back and gave us feedback and guidance for going further. We also discussed the printing technicalities with each design choice and how to overcome any difficulties.
Mid-Project Critique
During this critique, we created presentations to share with the Innosek team. We took our refined iterations and 3D renders and shared them along with our printing considerations. They gave us feedback on how to make the printing process easier and how to write directions for when we sent our design to Innosek to have them printed.
Final Critique
For our final critique with the Innosek team, they had brought our printed final designs in for us to prepare for presentations with our LEDs installed. During this part of the critique we got feedback from both our professor and Innosek on how we can change things for the next time we create a product like this, and where we could have taken more advantage of the 3D printer and everything that it can do. We also talked about where we succeeded in our use of materials given our requirements and constraints.